 source
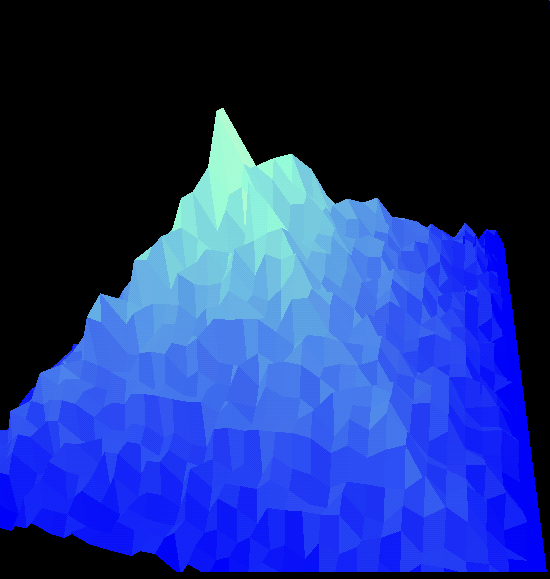
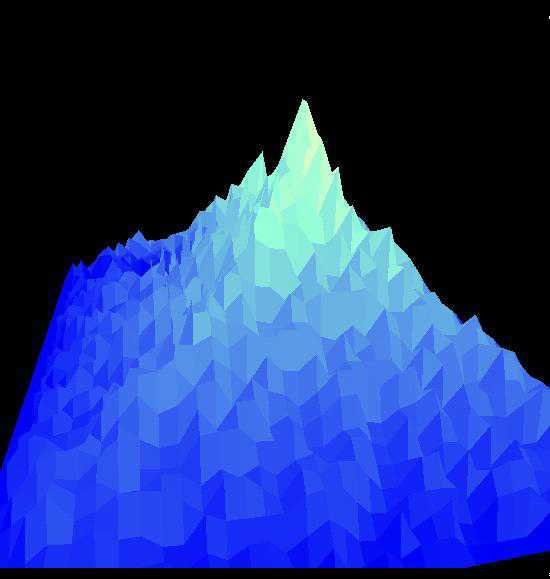
The mild weather that we have had this winter in Northern Virginia has left many of us longing for snow, in particular for the majestic snow-covered mountains that are usually many hours of travel away. So, to satisfy our needs, we are forced to turn to mountains made of bits instead of those made of rocks.
Making mountains is easier than it looks. The mountain is defined as a set of
points in three dimensions, and is stored in a two-dimentional matrix, where
the first dimention is the x-coordinate, the second dimention is the z-
coordinate, and the value stored there is the y-coordinate. For example,
the point (1, 3, 4) would be stored by giving the item matrix[1][4]
the value 4.
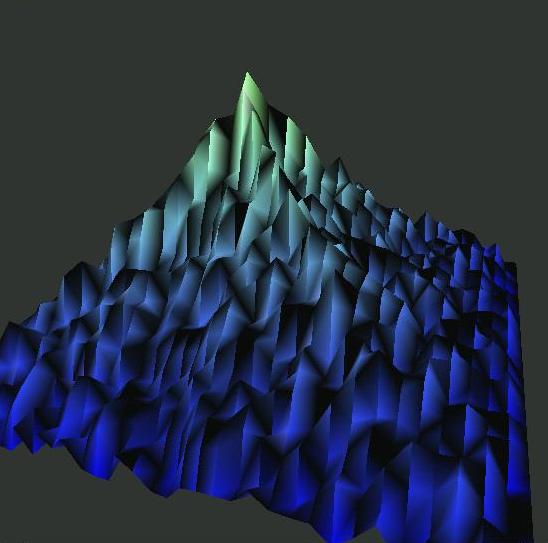
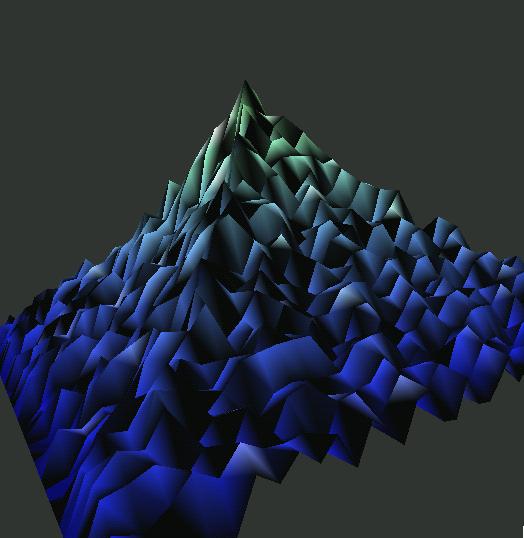
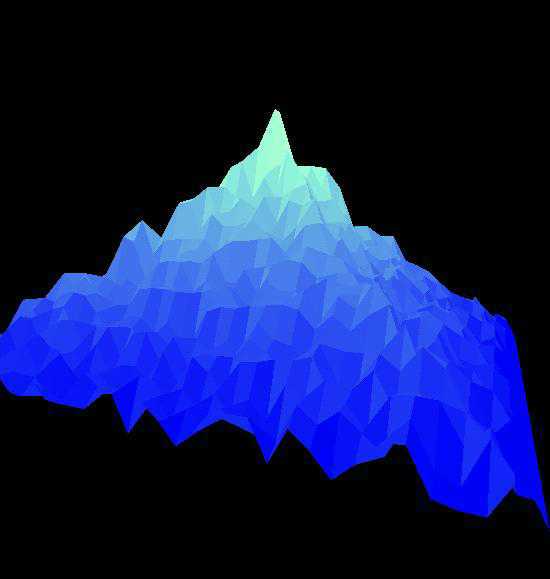
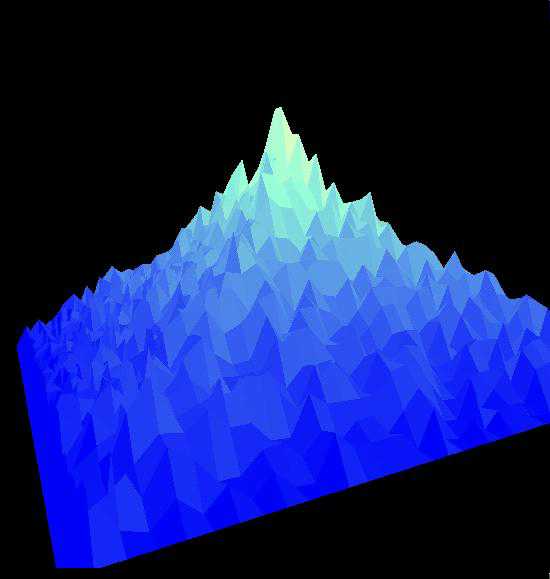
Calculating the y-coordinates, however, is a little harder. We started from the outside of the matrix and spiraled our way in towards the center, calculating as we went. To calculate it, we took a weighted average of the y- coordinates of the items that were right next to the one we were working on and added a random (possibly negative) number to it, which was adjusted a tiny bit to make sure that, on average, the y-coordinates kept increasing (flat mountains aren't much fun, and I have never heard of an upside-down mountain)
After that, to make it look better, we made the color of the mountain change as it got taller, and then added a few commands to change the point from which we viewed the mountain so we could better appreciate our masterpiece. A few sample pictures and the source code are below.
But were we satisfied? No! One problem we had was that the depth buffer (or z-buffer) was not working right. A depth buffer stores the objects drawn in a 3D scene from back to front, so that they are drawn correctly. But parts of our mountain in the back were being drawn over parts in the front, making for some very wierd images. To fix this, we had to totally rewrite most of our code to use the GLUT (OpenGL Utility Toolkit) utility libraries instead of the AUX libraries we had been using earlier.
Next, we added lighting to our mountain scene. This was more difficult, since for every polygon we drew, we had to calculate a vector perpendicular to its surface so that the light would reflect properly. Our light source moves back and forth above the mountain to simulate the changing angle of the sun during the day. A couple pictures taken from different angles and different positions of light are below along with the source code (again).